
Affiliate Disclosure: Some links on this page are affiliate links. As an Amazon Associate, we earn from qualifying purchases — at no extra cost to you. We do not buy, install, or physically handle the cameras we cover; our rankings come from aggregated owner reviews, ratings and expert consensus. Commissions never change our verdicts. We're reader-supported: commissions fund hosting, research and updates, so if a guide helped, buying through our links keeps it going. How we rank · full disclosure.
Short version: in setup mode a Ring device broadcasts a temporary WiFi network that your phone joins to hand over your home WiFi password, then the camera connects to your network directly — most connection failures happen at that handoff, from a mistyped password or special characters in the network name, or because a 2.4GHz-only camera can’t see the right band, not because of a genuinely bad WiFi connection.
In Plain English
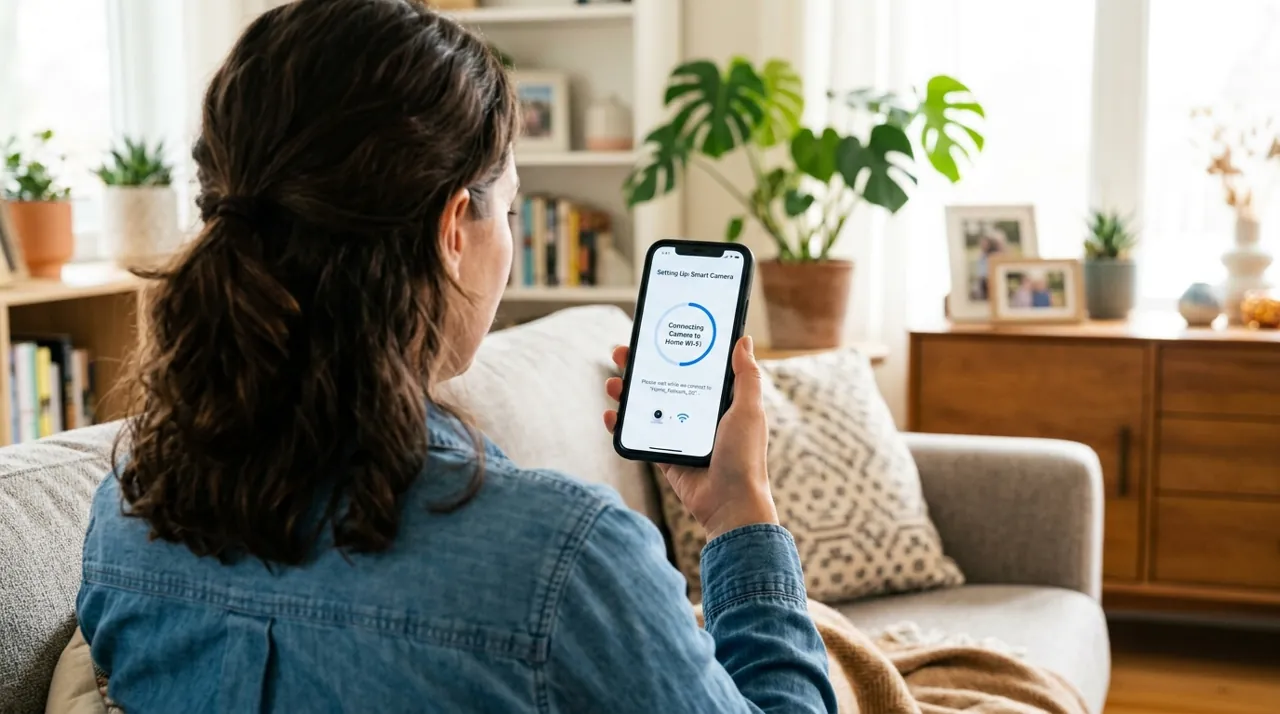
To set up a Ring camera or doorbell, the device first creates its own temporary Wi-Fi network. Your phone joins it for a moment to pass over your home Wi-Fi password, and then the camera connects to your home network by itself.
That handover is where most problems happen, like passing a note that gets smudged on the way. Common causes are a mistyped password, unusual characters in your network name, or a camera that only works on the 2.4GHz band (the longer-range Wi-Fi channel) and can’t see it. Keep your phone near the camera during setup. Afterwards, check the signal strength reading (called RSSI) in the app; if it is weak where the camera is mounted, a Ring Chime Pro or a mesh Wi-Fi point can boost it. If you change your router, use Change WiFi Network rather than resetting the camera.
Ring Devices This Guide Applies To

The most-reviewed video doorbell tracked on this site with one of the deepest, highest-rated review bases we track. Like every Ring device, it needs a stable 2.4GHz WiFi connection at the mounting point to stay online.
Why You Should Get This
If you own this doorbell and are troubleshooting its WiFi connection, this is the most-documented Ring device.
Benefits
- Deepest review base of any doorbell tracked on this site.
- Well-documented WiFi pairing process.
- No wiring required.
Pros and Cons
- Largest, most trustworthy review base.
- Extensive community troubleshooting resources.
- Simple app-guided setup.
- Needs a stable 2.4GHz WiFi signal at the door.
- Recorded clip history needs a subscription.
- 1080p rather than 2K.
Features
- Head-to-toe 1:1 view.
- Removable battery or hardwiring.
- Two-way talk.

The highest-rated Ring device tracked on this site with one of the highest ratings and deepest review bases we track. Wired power removes battery concerns, but it still needs a reliable WiFi signal reaching the mounting position.
Why You Should Get This
If you own a wired Ring floodlight camera and are troubleshooting its connection, this is the most review-validated model.
| Resolution | 1080p HD |
| Field of view | 140° horizontal |
| Power | Hardwired, existing outdoor fixture |
| Night vision | Color night vision |
| Audio | Two-way talk |
| Siren | 105dB built-in siren |
| Lighting | Motion-activated LED floodlights |
| Smart home | Works with Alexa |
Benefits
- Highest-rated Ring device tracked on this site.
- Never needs a battery recharge.
- Reliable wired power removes one variable.
Pros and Cons
- Massive, consistent review base.
- Reliable wired connection.
- Well-documented setup process.
- Needs an existing wired fixture or electrician.
- Still needs a WiFi signal at the mount point.
- Recorded clip history needs a subscription.
Features
- Motion-activated LED floodlights.
- 105dB built-in siren.
- Two-way talk.
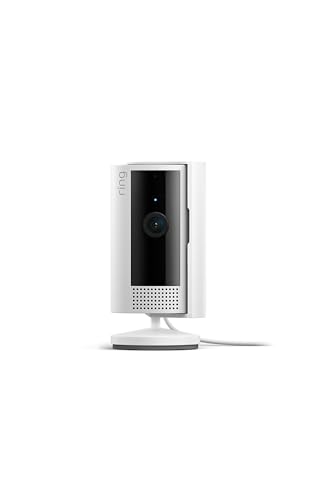
The most-reviewed inexpensive indoor camera tracked on this site with one of the deepest, highest-rated review bases in the category. Being indoors, it typically sits closer to the router, making WiFi pairing more reliable than an outdoor device.
Why You Should Get This
If you own this indoor camera and are troubleshooting its WiFi connection, this is the largest-reviewed indoor Ring device.
Benefits
- Most-reviewed inexpensive camera in the category.
- Typically closer to the router, more reliable pairing.
- Physical privacy cover.
Pros and Cons
- Massive, trustworthy review base.
- Low price for a first camera.
- Straightforward WiFi setup.
- Recorded clip history needs a subscription.
- 1080p rather than 2K.
- Indoor use only.
Features
- 1080p HD, two-way talk.
- Physical privacy cover.
- Plug-in power.
Before You Start
Confirm your phone is connected to the same WiFi network you intend to put the camera on, and that you know the exact password. If your router broadcasts separate 2.4GHz and 5GHz network names, note the 2.4GHz one specifically — some Ring models only work on 2.4GHz. Fully charge a battery-powered unit first; low-battery devices sometimes drop out mid-pairing.
Connecting the Camera
Open the Ring app, tap Set Up a Device, select the camera type, and scan the QR code on the device or its packaging. The app will ask you to put the device into setup mode (on many models by pressing the setup button, after which a light pulses slowly), and the device broadcasts a temporary “Ring-” WiFi network that your phone connects to — keep the phone close to the camera here. The app then lists available WiFi networks; select yours and enter the password. The camera then connects directly to your home WiFi and finishes setup.
Fixing the Most Common Pairing Failures
If your Ring is not connecting to WiFi during setup and the app can’t find your network during the WiFi selection step, that’s almost always a band mismatch — look for a separate 2.4GHz network name, or temporarily split a combined SSID into two in your router settings if it only broadcasts one. If the handoff itself fails, move closer to the camera, put it back into setup mode, and retry, making sure your phone joins the temporary “Ring-” network when prompted. If the WiFi connects but the camera immediately shows offline afterward, that’s usually a signal-strength issue at the mounting position rather than a setup problem — see why is my Ring camera offline.
How to Connect Ring to New WiFi After a Router Change
To connect a Ring camera to new WiFi after you’ve changed routers or updated your WiFi password, note that existing Ring cameras won’t automatically pick up the new credentials — go into the Ring app’s device settings and select Change WiFi Network rather than doing a full reset, which is unnecessary for this specific case. A factory reset is only needed if the change-network option itself fails; see how to reset a Ring camera.
Ring's Minimum WiFi Requirements
Ring’s upload-speed recommendations scale with resolution: about 1 Mbps for a 720p device, 2 Mbps for 1080p, 2.5 Mbps for 1536p, 10 Mbps for 2K and 15 Mbps for 4K. For several devices, Ring says to add the figures together. Treat the total as a floor, not a comfortable target — if your household also streams video and works from home on the same network, leave extra upload headroom so devices aren't competing for bandwidth during the moments that matter, like a delivery at the front door while someone's on a video call inside.
Signal strength matters as much as raw speed. A camera can sit on a fast internet plan and still struggle if the WiFi signal at the mounting position itself is weak, because the bottleneck is the wireless link between the router and the device, not the connection from the router to the internet. Check the RSSI reading in the app's Device Health screen after setup (Ring rates 0 to -60 as great and anything below -70 as poor) rather than assuming a fast plan solves everything — the two are related but distinct problems, and treating them as one is a common reason a "connected but sluggish" camera gets misdiagnosed.
Setting Up Multiple Ring Devices on One Network
Most households end up running more than one Ring device — a doorbell plus a floodlight camera, or a doorbell plus an indoor camera and a Chime. Add them one at a time through the same Set Up a Device flow, letting each device fully finish pairing and show as online in the app before starting the next. Running several setups back-to-back, switching between devices mid-process, is a common way for one device to end up half-configured — paired to the account but never actually confirmed on WiFi.
A Ring Chime or Chime Pro pairs independently of the doorbell it's meant to alert for, using its own WiFi connection through the same app flow. It doesn't relay through the doorbell, so if the Chime isn't sounding, that's a separate WiFi connection to check, not necessarily a sign the doorbell itself has a problem. Confirm both devices individually show as online in Device Health before assuming a linked-device issue.
Weak Signal at the Mounting Position
A doorbell or floodlight camera often sits at the edge of a home's WiFi coverage by nature of where it needs to be mounted — at the front door, on a detached garage, or at the back fence. If the Ring app's setup flow warns about a weak signal during pairing, that warning is worth taking seriously rather than pushing through; a camera that barely pairs during setup on a workbench near the router will fare worse once mounted at the actual, farther position.
The most direct fix is a Ring Chime Pro, which doubles as a WiFi extender specifically built to boost signal to Ring devices, or a standard mesh WiFi node placed on the side of the house closest to the mounting spot. Both are cheaper and less disruptive than repositioning the camera to a worse but better-connected location. If neither closes the gap, that points to a genuinely weak coverage area worth solving properly at the router level first, before assuming the camera itself is the problem or reaching for another reset.
Accessories Worth Having on Hand
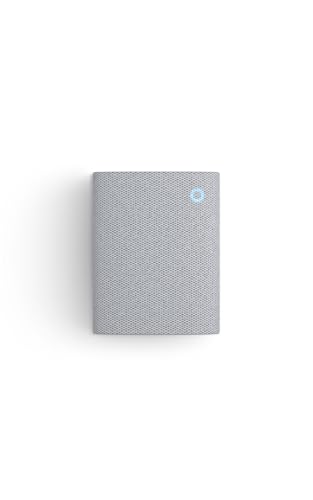
Best for re-pairing an indoor chime after reconnecting a Ring doorbell to WiFi.

Best for repositioning a camera closer to the router for a stronger signal.

Best for local backup storage on Ring devices that support a card.
Going Deeper: Signal Strength, Bandwidth and Why 2.4GHz Reaches Further
Two separate numbers decide whether a Ring device works well: signal strength at the device and upload speed from your home. Ring’s Wi-Fi guidance measures the first as RSSI, the received signal strength indicator: 0 to −60 is great, −60 to −70 is okay but could be improved, −70 to −80 is poor with possible delays and interruptions, and −80 or worse means intermittent service or dropping offline. Ring lists walls made of brick, stucco or metal, large appliances, electronics and mirrors as things that weaken the signal on its way to the device.
Upload speed is the second number, and it adds up. Ring recommends 1 Mbps for a 720p device, 2 Mbps for 1080p, 2.5 Mbps for 1536p, 10 Mbps for 2K and 15 Mbps for 4K, and says the requirements are cumulative: a 2 Mbps doorbell and a 3.5 Mbps camera need at least 5.5 Mbps together. A great signal at the door can’t fix a plan whose upload capacity is already used up, which is why both numbers are worth checking.
Band choice explains the 2.4GHz advice. TP-Link’s explanation says 2.4GHz reaches farther than 5GHz because waves attenuate much faster at higher frequencies, but that 2.4GHz suffers more interference: it has only three non-overlapping channels, against 23 on 5GHz, and shares the band with devices such as microwaves and cordless phones. Ring’s setup troubleshooting says Ring devices support both bands, and that if the 5GHz network doesn’t appear you should try the 2.4GHz network instead. It also advises removing special characters such as apostrophes, spaces and symbols from the network name, and using a Chime Pro or a mesh router when the device is far from the router.
Related Guides
For the full install process beyond just WiFi pairing, see how to install a Ring camera. And if Ring’s subscription model factors into your decision, is Ring worth it covers the cost breakdown.
A Ring device that paired cleanly during setup and then goes offline weeks or months later is almost never a repeat of the original WiFi pairing problem — it's a separate issue worth its own diagnosis. Check why is my Ring camera offline for the signal, power and router-side causes that show up after a device has already been connected successfully once.