
Affiliate Disclosure: Some links on this page are affiliate links. As an Amazon Associate, we earn from qualifying purchases — at no extra cost to you. We do not buy, install, or physically handle the cameras we cover; our rankings come from aggregated owner reviews, ratings and expert consensus. Commissions never change our verdicts. We're reader-supported: commissions fund hosting, research and updates, so if a guide helped, buying through our links keeps it going. How we rank · full disclosure.
Short version: installing a battery Ring camera or doorbell is a same-day DIY job — mount, pair, done. The wired Floodlight Cam is a different category of install involving mains electrical work, and that’s the version where hiring an electrician is genuinely common rather than optional caution.
In Plain English
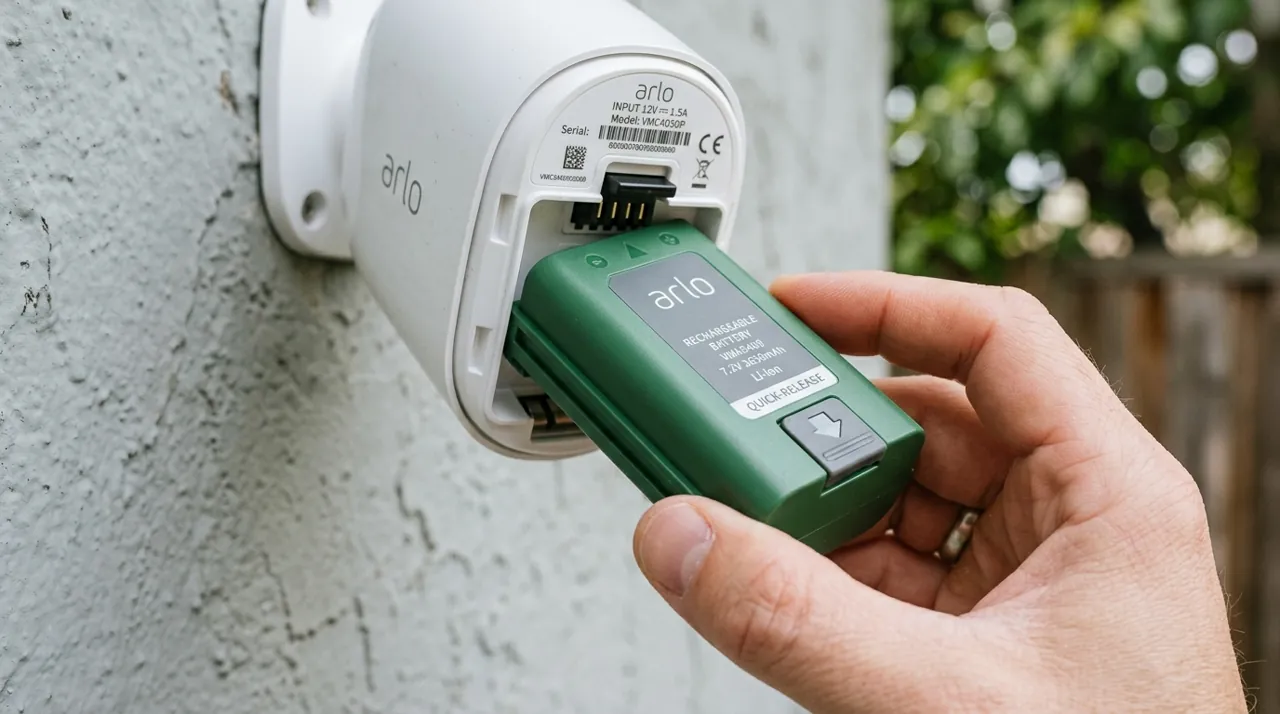
Putting up a battery Ring camera or doorbell is a do-it-yourself job you can finish in an afternoon. Charge the battery fully first, screw the bracket to the wall, clip the device on, and follow the app to connect it to Wi-Fi.
Height matters, like a door peephole: too high and you only see the top of someone’s head. Ring suggests about 48 inches for doorbells and 8 to 10 feet for cameras, tilted slightly down. The wired Floodlight Cam is different. It replaces an outdoor light connected to your home’s mains electricity, so turn off the breaker first and call an electrician if the wiring looks unfamiliar. Before drilling, check the Wi-Fi signal at the spot. Afterwards, set motion zones (the areas that trigger alerts) so the street is left out.
Ring Devices This Guide Applies To

The most-reviewed video doorbell tracked on this site with one of the deepest, highest-rated review bases we track. It runs on a removable rechargeable battery with no wiring required, a genuine fifteen-minute install.
Why You Should Get This
If you’re installing a battery Ring device, this is the most review-validated example of the simple no-wiring install.
Benefits
- Deepest review base of any doorbell tracked on this site.
- Genuine fifteen-minute install, no wiring.
- Head-to-toe view shows the whole doorstep.
Pros and Cons
- Largest, most trustworthy review base.
- No electrical work required.
- Motion zones cut sidewalk false alerts.
- Recorded clip history needs a subscription.
- 1080p rather than 2K.
- Mounting height still matters for a good frame.
Features
- Head-to-toe 1:1 view.
- Removable battery, no wiring.
- Two-way talk.

A common wired install, with one of the highest ratings and deepest review bases we track, connecting to an existing outdoor fixture. Installation is a real project — a meaningful share of buyers hire an electrician rather than work at a breaker panel themselves.
Why You Should Get This
If you’re installing a wired Ring camera, this is the most review-validated example of what that installation involves.
| Resolution | 1080p HD |
| Field of view | 140° horizontal |
| Power | Hardwired, existing outdoor fixture |
| Night vision | Color night vision |
| Audio | Two-way talk |
| Siren | 105dB built-in siren |
| Lighting | Motion-activated LED floodlights |
| Smart home | Works with Alexa |
Benefits
- Highest-rated outdoor camera tracked on this site.
- Connects to an existing outdoor fixture.
- Never needs a battery recharge once installed.
Pros and Cons
- Massive, consistent review base.
- No ongoing recharge maintenance.
- Motion-activated floodlights double as a deterrent.
- Needs an existing wired fixture or electrician.
- Real installation project, not a 15-minute job.
- Recorded clip history needs a subscription.
Features
- Motion-activated LED floodlights.
- Hardwired install.
- Two-way talk.
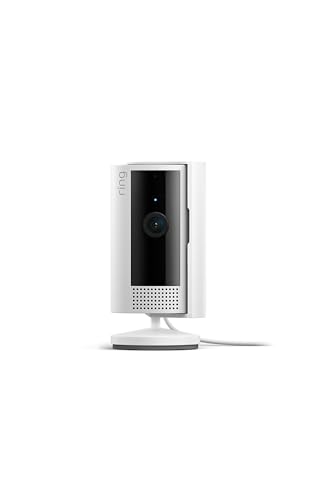
The simplest install of the three, with one of the deepest, highest-rated review bases in the category — plug into an outlet and pair in the app, no mounting hardware required unless you choose to mount it.
Why You Should Get This
If you want the simplest possible Ring install with no drilling at all, this is it.
Benefits
- Most-reviewed inexpensive camera in the category.
- Plug-in power, no wiring or drilling required.
- Physical privacy cover.
Pros and Cons
- Massive, trustworthy review base.
- Simplest install of any Ring device.
- Low price for a first camera.
- Recorded clip history needs a subscription.
- 1080p rather than 2K.
- Indoor use only.
Features
- 1080p HD, two-way talk.
- Physical privacy cover.
- Plug-in power.
How to Install a Ring Doorbell Wireless (Battery) or Camera
Charge the battery fully before mounting — most units ship at a partial charge and won’t pair reliably while low. Use the included mounting bracket and template to mark screw positions, drill pilot holes if mounting into siding or brick, and secure the bracket with the provided screws and anchors. Clip or screw the camera onto the bracket, then open the Ring app and follow the QR-code setup flow, which walks through WiFi pairing (see our dedicated connect Ring to WiFi guide if this step stalls).
Installing a Wired Ring Floodlight Cam
This replaces an existing hardwired floodlight fixture — Ring specifies a 4-inch round, UL-listed weatherproof electrical box — so the process starts with switching off power at the breaker — never skip this step. Remove the old fixture, note which wires are line, neutral and ground, and connect the Ring unit’s corresponding wires the same way, typically using wire nuts. Secure the mounting plate, attach the camera unit, then restore power and complete WiFi pairing through the app. If there’s no existing fixture or the wiring looks unfamiliar, this is the point to bring in an electrician rather than guess.
Where to Mount It
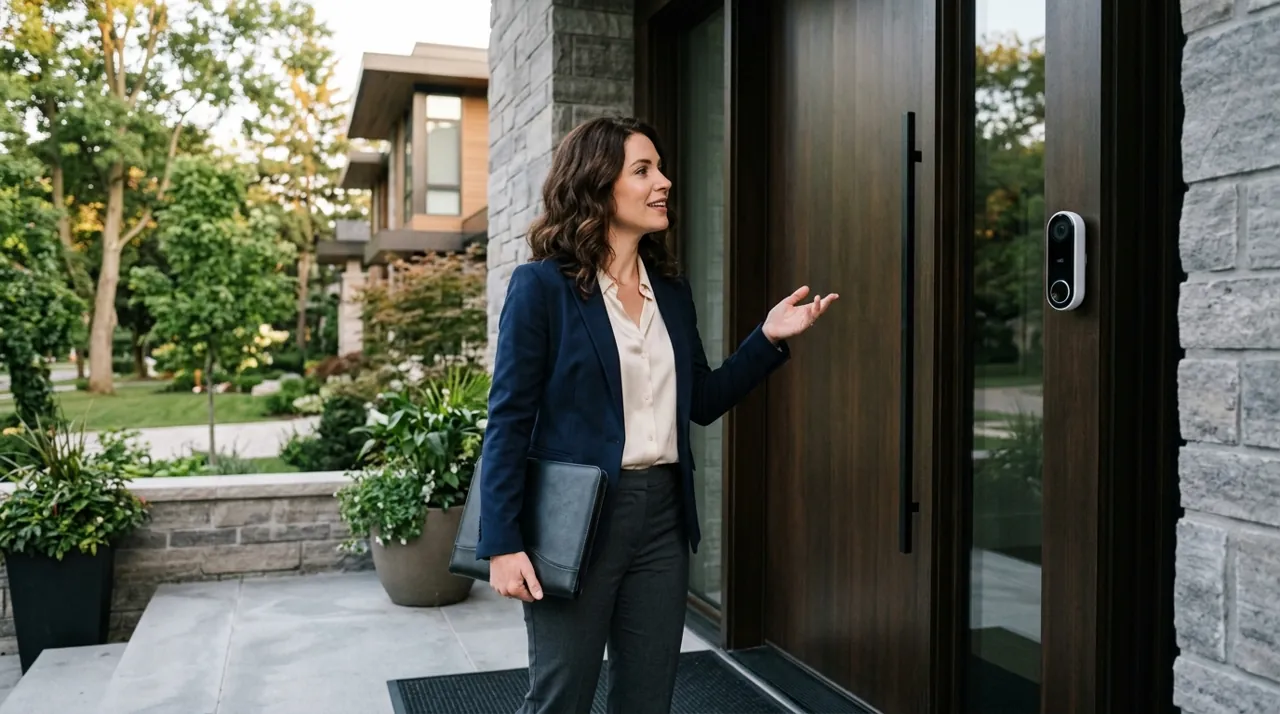
For doorbells, install at standard doorbell height (around 48 inches) beside the door rather than directly above it, so the field of view captures approach angles rather than just the top of a visitor’s head. To install a Ring camera outdoor on a wall covering a driveway or side yard, mount around 8-10 feet up with a slight downward tilt (Ring suggests about 20 degrees) — high enough to deter tampering, low enough to keep faces identifiable within the useful detection range.
Checking WiFi Strength Before You Commit to a Spot
Before drilling anything permanent, hold the camera at the intended mounting position and check the WiFi signal indicator during the app’s setup flow — Ring will warn if the signal is too weak to reliably pair. A spot that looks ideal for coverage but sits at the edge of your WiFi range is the single most common cause of Ring cameras that seem to "install fine" and then drop offline within days; see why is my Ring camera offline if that happens. For the pairing steps themselves once the spot checks out, see how to connect a Ring camera to WiFi.
Battery Life and Charging Before You Mount
Charge the Quick Release Battery Pack fully before the first install, since most units ship at a partial charge and won't pair reliably while low. After that, how many months you get between charges depends heavily on how much motion the camera sees, your WiFi signal strength and the weather — a doorbell facing a busy sidewalk drains faster than one on a quiet side entrance, and cold weather reduces battery performance across the board. Mount the camera somewhere a stepladder reaches without hassle, because pulling the removable battery pack for a recharge is a routine part of owning a battery Ring device, not a rare event.
Using a Corner or Wedge Mount for a Better Field of View
Doors set at an angle to the walkway, or mounted beside a wall that juts out, often leave a straight-on Ring doorbell staring mostly at empty siding rather than the actual approach path. Ring's angle mount kits (a wedge for redirecting the view sideways, a corner kit for doors recessed into an alcove) solve this in a few extra minutes during the same install, rather than requiring you to relocate the whole unit to a worse position. Test the live view in the app with the mount held in place before committing to final screw holes — it's a cheap accessory next to a second set of holes in the siding.
Weatherproofing the Install
Ring's outdoor cameras and doorbells are weatherproof enough for normal exposure out of the box, but the mounting bracket and any exposed screw holes are still worth a small bead of exterior-grade silicone if the position sits in direct driving rain or under no overhang at all. For a wired Floodlight Cam, the junction box connection is the part that actually needs sealing (Ring itself suggests weatherproof silicone caulk where the camera meets the box) — confirm the box itself is rated for exterior use and that the fixture seats flush against it with no gap for water to track in behind the mounting plate.
Install Accessories Worth Having on Hand

Best for angling a Ring camera precisely under an eave or soffit during install.

Best for a clean, weatherproof cable entry point on a wired Ring install.
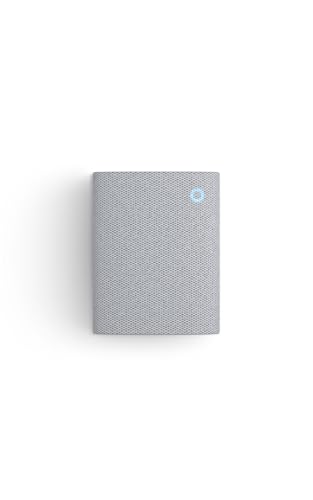
Best for adding an audible indoor chime as part of a Ring doorbell install.
Finishing the Setup Once the Camera Is Mounted
With the hardware side done, the app settings decide how much value you actually get from the install. Draw motion zones that exclude the sidewalk and street so notifications reflect activity at your property rather than every passing car — this single step does more to prevent alert fatigue than any hardware choice. Turn on Rich Notifications if your plan includes them, which show a thumbnail directly in the alert rather than requiring you to open the app to see what triggered it. And test the two-way talk feature once, on purpose, before you need it in a real situation — it's rarely used in the first week but becomes important the first time it matters.
If you're installing more than one Ring device, name each one clearly and specifically in the app (front door, side gate, driveway) rather than leaving default names, since a household with several cameras and a generic naming scheme makes it slower to find the right live view during an actual event. Give the whole system a week of real use, then revisit the motion zones and notification settings once — that second pass is usually what turns an install that technically works into one you actually rely on day to day.
Going Deeper: How Placement Shapes Ring’s Motion Detection and Battery Life
Ring’s placement figures come from how its devices detect motion. Ring’s positioning guide says doorbells should be mounted 48 inches from the ground for optimal motion detection, and that outdoor cameras are designed to be mounted 8 to 10 feet up with a 20-degree tilt; indoor cameras can go up to 8 feet and should face into the room, away from windows. It suggests wedge or corner kits where stairs, angled siding or corners skew the view, and tells owners to clear trees, flags or bright lights that could cause false alerts or block the camera.
Motion zones then narrow what counts as an event. Ring’s motion zones guide says you can add up to three zones per device to focus on the areas that matter and cut alerts from things like passing cars, gives a standard maximum detection range of 30 feet, and warns that moving trees, sunlight, reflections or shadows can trigger unwanted alerts. It adds that battery-powered devices might need Advanced Motion Detection switched on before Motion Zones can be used.
Placement feeds straight into battery life. Ring’s battery troubleshooting guide says the more live views, linked events and motion events a device performs, the more often it needs recharging; that rechargeable batteries drain faster in the cold; and that a device with a weak Wi-Fi connection may keep losing and regaining its connection, which drains power. Ring also suggests stopping a charge at about 90 percent, since overcharging can make a battery run out faster. A doorbell aimed at a busy sidewalk at the edge of Wi-Fi range will need charging far more often than one on a quiet, well-connected side door, which is why zones and signal checks belong in the install, not after it.
Related Guides
Once installed, decide whether a Ring Protect plan is worth adding — see is Ring worth it. If you’re still deciding between models before you buy, the Ring camera ranking compares the current lineup.