
Affiliate Disclosure: Some links on this page are affiliate links. As an Amazon Associate, we earn from qualifying purchases — at no extra cost to you. We do not buy, install, or physically handle the cameras we cover; our rankings come from aggregated owner reviews, ratings and expert consensus. Commissions never change our verdicts. We're reader-supported: commissions fund hosting, research and updates, so if a guide helped, buying through our links keeps it going. How we rank · full disclosure.
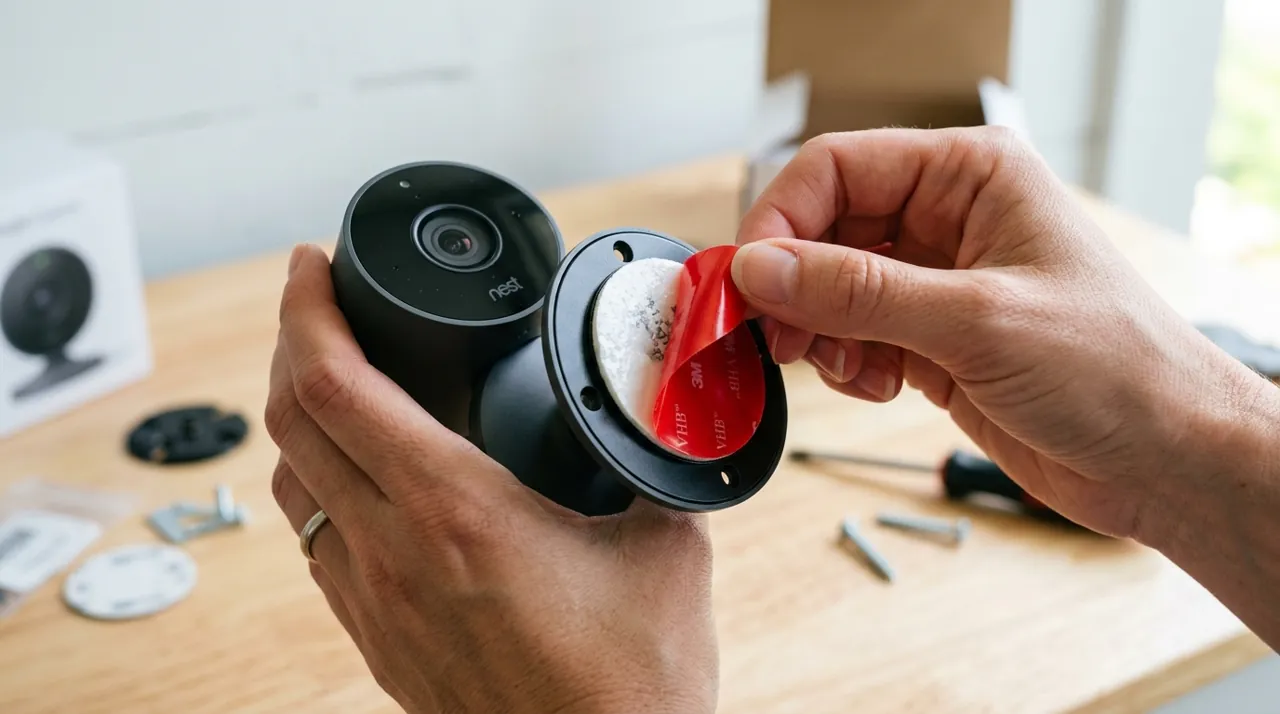
Short answer: you can install a security camera without drilling in four genuine ways, and which one fits depends on the camera and the surface. Heavy-duty outdoor mounting tape or adhesive strips hold most battery cameras reliably on smooth surfaces like vinyl, painted wood or glass. Freestanding placement on a shelf, sill or table skips mounting entirely. A magnetic backplate works if the surface underneath is metal, such as a steel door frame. And swapping an existing fixture — replacing a battery doorbell that already sits on a mounting plate — avoids new holes because the mount was already there.
Recommended No-Drill-Friendly Cameras

Best for an adhesive-friendly, drill-optional mount.


Best for a battery camera that also mounts with adhesive strips.
How to Install a Security Camera Without Drilling: The Real Options
Skipping the drill is a genuinely practical choice for renters, for anyone unsure of a final placement, and for anyone who simply does not own a drill or does not want the wall damage it leaves behind. The tradeoff, stated plainly, is that no-drill methods generally hold slightly less securely than a screwed bracket and are a poor fit for masonry surfaces where adhesive has almost nothing to grip. Matching the method to the surface and the camera's weight is what makes the difference between a mount that lasts and one that fails within a season.
What Actually Holds Up Long-Term
Adhesive is the workhorse of no-drill installs, and the quality of the tape matters more than most buyers expect. Genuine outdoor-rated mounting tape, the kind sold specifically for exterior use and UV exposure, holds a lightweight camera reliably for months to years on a smooth, clean surface. Generic double-sided tape or anything not rated for outdoor conditions tends to soften in heat and let go within weeks, which is the single most common failure story owners report with no-drill mounts. Surface prep matters too — a clean, dry surface free of dust or old paint residue is the difference between a mount that lasts and one that does not.
Freestanding placement is the most reliable option where it is available, because there is nothing to fail. A camera on a windowsill, a bookshelf, or a table aimed at an entryway needs no mounting hardware at all, though it trades away the elevated, wide-coverage angle a wall or ceiling mount provides.
Camera Weight Matters as Much as the Adhesive
A lightweight indoor or small battery camera is a genuinely reasonable adhesive candidate, and most owner reports of successful long-term no-drill mounts involve exactly that category of camera. A heavier PoE camera, a camera with an integrated floodlight, or anything carrying real mass is a much harder sell for adhesive alone — the extra weight puts continuous stress on the bond, and it is far more likely to sag or detach over time, particularly through a hot summer that softens the tape. If the camera you want is on the heavier side, a drilled mount is worth accepting even where a no-drill option technically exists.
What Works on Which Surface
Smooth painted surfaces, vinyl siding and glass generally hold adhesive tape well. Brick, stucco and other textured masonry surfaces hold adhesive poorly because the texture reduces real contact area — a drilled anchor is close to the only reliable option there, and how to mount a security camera on brick covers that case specifically. Metal door frames and some garage structures accept a magnetic backplate, which some cameras ship with (the Wyze Cam v4, for instance, has a magnetic base) or sell as an accessory, and which holds a lightweight camera reliably, though a magnet is easier for someone to pull off than a screwed bracket. A steel security door or a metal awning frame are both good magnetic-mount candidates.
For renters specifically, the combination of a battery camera, outdoor-rated adhesive tape, and a lease-compliant no-fixings mount is usually the entire solution.
What to Avoid When Installing Without Drilling
A handful of mistakes account for most no-drill installation failures reported by owners. Mounting over a dirty or freshly painted surface before it has fully cured is the single most common one. Fresh paint has not hardened enough to hold adhesive reliably, and dust or pollen film under the tape prevents a proper bond from the start. Skipping the manufacturer's recommended press-and-hold time, often thirty seconds or more of firm pressure depending on the tape, is another quiet cause of early failures, since the bond needs that sustained contact to fully set. Mounting at a height or angle that puts continuous downward stress on the adhesive, rather than a flatter, supported angle, shortens the life of an otherwise good installation considerably.
Magnetic Backplates: Where They Genuinely Work Well
A magnetic mount is one of the most underrated no-drill options, but only on the right surface. Steel security doors, some garage door frames, and certain metal awning or post structures accept a magnetic backplate reliably, and a magnet rated for the camera's actual weight holds a lightweight camera reliably in place, although it is easier to pull off deliberately than a screwed mount. The mistake worth avoiding is assuming any dark-colored metal is magnetic. Aluminum and stainless steel frames often are not, so testing with a small fridge magnet before buying a camera specifically for a magnetic mount saves a wasted purchase. A magnetic mount also has a genuine practical bonus over adhesive: it can be repositioned or removed and reattached repeatedly with no wear on the bond, which adhesive tape cannot offer once it has been peeled off once.
Checking a No-Drill Mount's Real-World Security
Before finishing an install, give the camera a firm, deliberate tug in the direction someone might realistically pull it from below. A properly cured adhesive mount on a clean surface should resist meaningful force after the full cure time has passed, often 24 hours or longer for the strongest bond, depending on the tape maker's instructions. If a camera shifts or loosens under a moderate tug, the mount needs more cure time, a cleaner surface, or a switch to a drilled or magnetic option instead of adhesive alone. Re-checking a no-drill mount a week or two after installation, once it has been through at least one temperature swing, is a sensible habit that catches a slowly failing bond well before the camera actually falls.
See best security camera for apartment for the fuller rental-specific rundown, and can you install a security camera yourself for the broader DIY installation question.
Sources & References
- Positioning doorbells and security cameras — Ring
- Wyze Cam v4 — Wyze
- How to Install Reolink Go Ranger PT — Reolink