
Affiliate Disclosure: Some links on this page are affiliate links. As an Amazon Associate, we earn from qualifying purchases — at no extra cost to you. We do not buy, install, or physically handle the cameras we cover; our rankings come from aggregated owner reviews, ratings and expert consensus. Commissions never change our verdicts. We're reader-supported: commissions fund hosting, research and updates, so if a guide helped, buying through our links keeps it going. How we rank · full disclosure.
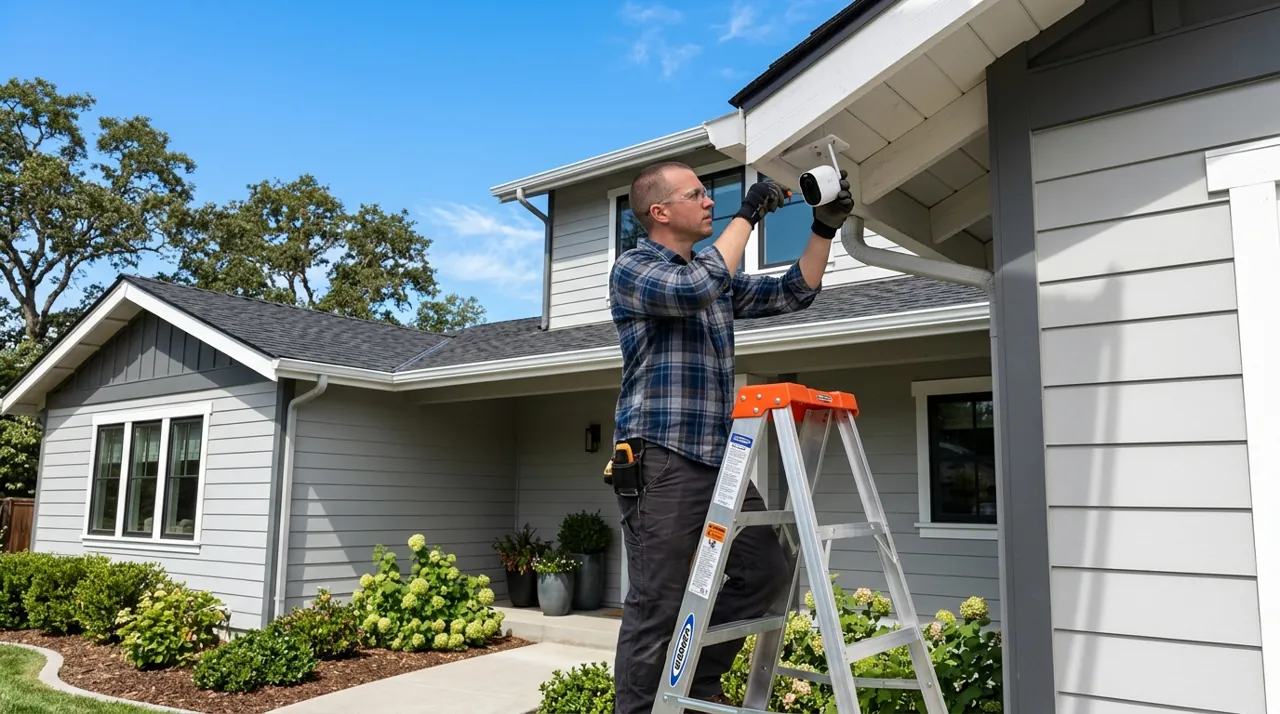
Short answer: yes, you can install a security camera yourself, and most homeowners do. The overwhelming majority of consumer security cameras are designed specifically for a self-install. That includes battery-powered models, WiFi cameras that plug into an outlet, and video doorbells that mount with adhesive or a simple bracket. No electrician is needed. No special tools beyond a screwdriver are needed. The camera categories that genuinely test a DIYer's comfort level are PoE systems requiring Ethernet cable runs, and any camera tied into existing mains-voltage wiring. Both are covered in more detail below.
Recommended Cameras for a DIY Install

Best for a fifteen-minute DIY install with no wiring.


Best for the DIY-hardest option, for anyone comfortable running Ethernet.
Can You Install a Security Camera Yourself? Battery, WiFi Camera and PoE Compared
Battery cameras are the easiest category by a wide margin. Most mount with a bracket and two or three screws, or with adhesive tape for a fully drill-free option. Pairing with the app is guided step by step by the manufacturer. A first-time installer with no prior experience typically has a battery camera running within fifteen to thirty minutes, including the app setup and a test recording.
WiFi cameras that plug into an outlet are nearly as simple. They add only the need for a nearby power source to the same basic mounting process. Video doorbells fall into the same easy tier when they are battery-powered with adhesive mounting. They only get marginally more involved when connecting to existing low-voltage doorbell wiring, which is still well within reach for most comfortable DIYers.
Where Self-Installation Gets Harder: PoE, NVR and Electrician Work
PoE cameras and multi-camera NVR systems are the real DIY test. Running Ethernet cable through walls, attics or conduit to multiple camera positions is a substantially bigger project than mounting a single battery camera. It benefits from basic familiarity with cable termination, even though the connectors themselves are not difficult to learn. Owners who complete these installs successfully generally describe budgeting a full weekend for a four-to-eight-camera system, longer if the cable runs are not straightforward.
Anything involving mains-voltage electrical work, like a hardwired floodlight camera spliced into an existing fixture, or work inside a breaker panel or junction box, is the one category where hiring a licensed electrician is the safer choice. In many jurisdictions it is also the legally expected choice rather than a DIY option.
What First-Time Installers Actually Report
Across owner reviews, the most common installation complaint has nothing to do with mounting hardware at all. It is WiFi pairing friction. Many cameras connect only on 2.4GHz WiFi (TP-Link lists 2.4GHz only for its Tapo C211, for example), so routers and mesh systems that combine 2.4GHz and 5GHz under one network name can need a band-specific setup step. The mounting itself is rarely where people get stuck. Reading a camera's negative reviews specifically for setup complaints before buying is a reasonable way to gauge how smooth a particular model's self-install actually is in practice, independent of the marketing copy.
When Hiring Help Genuinely Makes Sense
Beyond the mains-voltage case, hiring an installer or a handyman makes sense for a large multi-camera PoE system with cable runs through finished walls or across a large property. In that scenario the labor of fishing cable is the majority of the job, not the camera itself. It also makes sense for anyone simply short on time. A professional install typically runs a fraction of the camera system's own cost. It removes the entire cabling question from the homeowner's plate. See how to install a security camera for the full installation walkthrough across every power type, and how to install without drilling for the drill-free path specifically.
A Realistic Step-by-Step Overview for a First Camera
Most successful first-time installs follow roughly the same sequence. Unbox the camera and charge or connect it to power first, before mounting anything. Complete the app setup and WiFi pairing while holding the camera at the intended location, to confirm the connection actually holds there. Choose the exact mounting spot, checking the field of view on the phone screen in real time rather than guessing. Mark and drill pilot holes if using screws, or clean the surface thoroughly before applying an adhesive mount. Attach the bracket, seat the camera, and run a short test recording to confirm the angle and image quality before considering the job finished.
Skipping the "test before mounting permanently" step is the single most common regret reported by first-time installers. It is far easier to reposition a camera sitting loosely in your hand than one already screwed to a wall or fascia board.
Common Frustrations Beyond the Physical Mounting
Physical mounting is rarely where a first-time DIYer actually struggles. App account creation, firmware updates that run automatically on first connection, and syncing a new camera into an existing smart-home ecosystem tend to eat more time than the screwdriver work. Budgeting extra time for the software side of setup, not just the hardware side, sets more realistic expectations than assuming the whole process ends the moment the bracket is on the wall.
Battery level on arrival is another small but common surprise. Many cameras ship partially charged rather than full. A first recharge before mounting saves an unplanned second trip up a ladder a day or two later, when the battery reads low sooner than expected.
Basic Safety Rules Worth Following Regardless of Skill Level
Even a simple, low-voltage install has a few real safety rules worth respecting. Use a stable ladder rated for the height and your weight, and have someone nearby when working above ground level. Never work on wiring while it is live, even low-voltage doorbell wiring, without confirming power is off at the source first. Wear eye protection when drilling into brick, stucco or masonry, since debris can kick back unexpectedly. None of this requires special training. It is the same basic care any home-improvement task at height or near electrical wiring deserves.
DIY Mounting Surface Changes the Difficulty More Than the Camera Does
Vinyl siding, wood trim and drywall are the easiest surfaces for a self-install, since a standard screw or masonry bit is not required. Brick, stucco and stone need a masonry drill bit and a wall anchor, which adds a step but is still a routine DIY task for most comfortable homeowners. Metal siding and fascia can be the trickiest surface of all. A screw can spin without biting, or the panel can flex under drilling pressure. A self-tapping screw designed for metal is worth having on hand before starting. Checking the mounting surface, not just the camera and its box contents, before starting the job avoids a mid-install trip to the hardware store.
Sources & References
- Reolink Camera Installation Tips — Reolink
- Battery Video Doorbell Tech Specs — Ring
- Tapo C211 Pan/Tilt Home Security Wi-Fi Camera — TP-Link Tapo
- How to Power on Reolink PoE Cameras — Reolink