
Affiliate Disclosure: Some links on this page are affiliate links. As an Amazon Associate, we earn from qualifying purchases — at no extra cost to you. We do not buy, install, or physically handle the cameras we cover; our rankings come from aggregated owner reviews, ratings and expert consensus. Commissions never change our verdicts. We're reader-supported: commissions fund hosting, research and updates, so if a guide helped, buying through our links keeps it going. How we rank · full disclosure.
Short answer: you should clean a security camera lens roughly every one to three months under normal conditions, in line with Reolink's guidance of at least every three months and closer to monthly in dusty or wet areas. During high-pollen season, after dust storms, or in any environment with heavy airborne debris, clean it closer to monthly. Indoor cameras need far less attention, often just an occasional wipe every few months, since they are shielded from the weather and debris that build up on exterior lenses so much faster.
Recommended Cameras for Easy Maintenance

Best for a weather-resistant lens that holds up to regular cleaning.

Best for a sealed dome housing that sheds debris well between cleanings.

Best for a light-plus-camera unit worth cleaning both elements of together.
How Often Should I Clean a Security Camera Lens? Signs It Needs It Sooner
Rather than relying purely on a fixed schedule, watching for specific signs is a more reliable guide. A gradually softening or hazier daytime image is one sign. Footage that looks noticeably worse than it did when the camera was new is another. A night vision image that has degraded beyond what a simple lighting explanation accounts for is a third. Any of these is worth checking the lens for directly. Spider webs are a particularly common and fast-developing outdoor problem. A camera can accumulate a web directly across the lens within days in the right conditions, well before a scheduled cleaning would catch it.
Seasonal patterns matter too. Spring pollen coats exterior surfaces, including camera lenses, in a fine yellow film that can meaningfully degrade image clarity within weeks in high-pollen regions. Storm seasons deposit dust, debris and water spots faster than calm weather does. Adjusting cleaning frequency to match these seasonal realities, rather than sticking rigidly to a fixed interval regardless of conditions, keeps image quality more consistent year-round.
How to Clean a Lens Without Damaging It
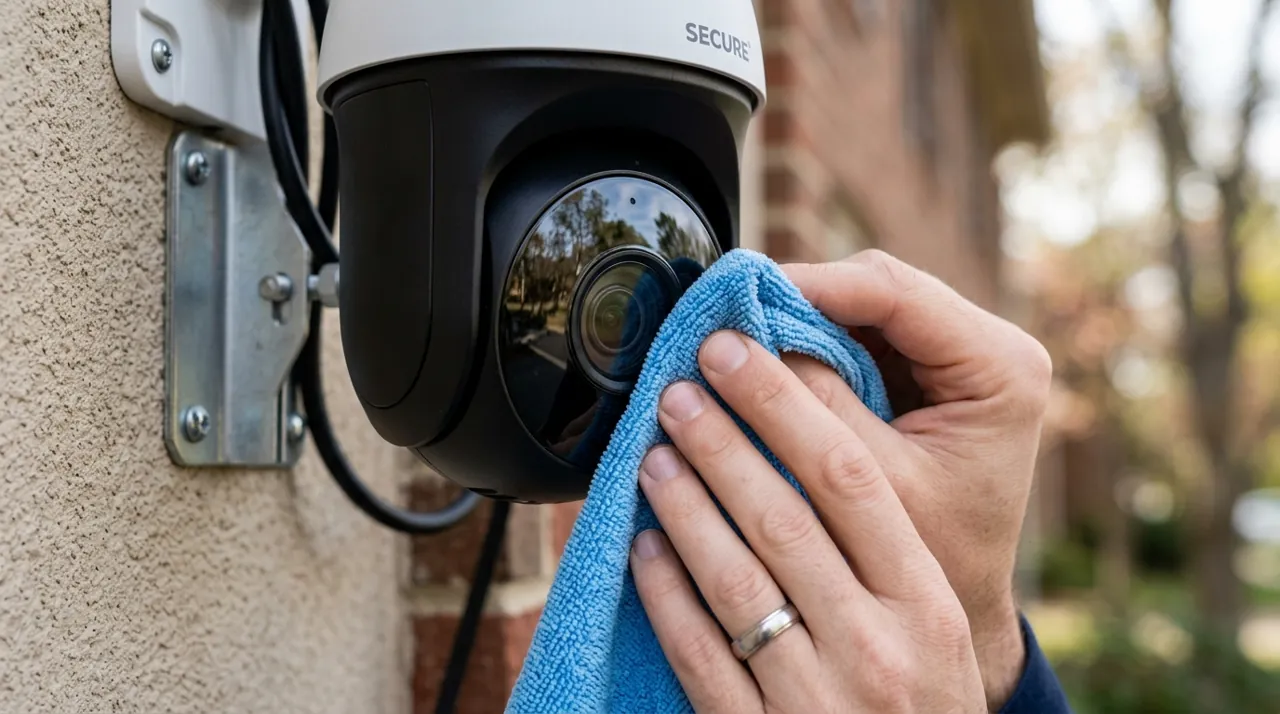
A soft, lint-free microfiber cloth, the same type used for eyeglasses or camera lenses generally, is the safest tool for the job. Use it dry for light dust, or very lightly dampened with water for more stubborn grime. Avoid paper towels and rough fabrics, which can introduce fine scratches over repeated use even when they seem soft enough in the moment. Avoid harsh household glass cleaners or solvents unless specifically labeled safe for camera optics, since some chemical formulations can damage protective coatings on the lens over time.
For cameras mounted at height, a small stepladder or an extension pole with a soft attachment is safer and more effective than trying to reach an awkward angle. It is worth combining a lens cleaning pass with a general check of the mount and cable connections while already up there.
A Simple Step-by-Step Cleaning Routine With a Microfiber Cloth
Start with a dry pass. A soft brush or a short burst of compressed air removes loose dust, pollen and cobweb before anything touches the glass, which avoids grinding grit into the lens surface with a cloth. Follow with a microfiber cloth, using light, circular motions rather than heavy pressure or hard back-and-forth scrubbing. For stubborn residue, lightly dampen the cloth with plain water rather than spraying liquid directly onto the lens, since spray can seep past the lens edge into the housing. Finish with a final dry pass to remove any streaking, and check the live view in the app afterward to confirm the image is genuinely clear before moving on.
What a Dirty Lens Does to Night Vision, Image Quality and Motion Detection
A grimy lens does not just look worse in daylight footage. It scatters and blocks the infrared light most cameras rely on for night vision, which is why a lens that seems fine in daytime video can still produce a hazy, low-contrast image after dark. Motion detection can suffer too, since a camera partially obstructed by dust, pollen film or a web is effectively trying to detect movement through a compromised view, and can miss genuine events or trigger false alerts on debris moving in the wind directly against the lens.
Owners sometimes assume a blurry or hazy image means the camera itself is failing and needs replacing, when a simple lens clean resolves it entirely. Checking and cleaning the lens is a sensible first troubleshooting step for any sudden drop in image clarity, well before assuming a hardware fault or reaching for a factory reset. It costs nothing, takes only a couple of minutes, and rules out the single most common cause of a suddenly disappointing picture before you spend real time on anything more involved or technical.
How Climate, Pollen and Camera Placement Change the Schedule
Not every camera on a property needs the same cleaning schedule. A camera under a covered porch or eave, sheltered from direct rain and blowing debris, generally stays cleaner for longer than one mounted fully exposed on an open wall or a freestanding pole. A camera near a tree, especially one that drops sap, pollen or leaf litter, needs more frequent attention than a camera with a clear, open sightline and nothing overhanging it.
Coastal properties see a particular pattern worth planning around. Salt air leaves a fine residue on exterior surfaces, including camera lenses and housings, faster than an inland location typically experiences, and that residue can also be mildly corrosive to housing seams and screws over a long enough period. Dusty rural properties, and homes near active construction or a gravel road, see a similar accelerated buildup from airborne particulate rather than salt. Both situations reasonably justify checking the lens closer to monthly, rather than defaulting to the general one-to-three-month guideline that fits a typical suburban setting.
Building a Simple Maintenance Habit
Pairing lens cleaning with an existing seasonal task, gutter cleaning, exterior light-bulb checks, a general spring and fall home walkthrough, makes it far more likely to actually happen consistently than relying on remembering a separate camera-specific schedule. Some owners set a simple recurring phone reminder every couple of months as a lower-effort alternative. Either approach beats the common pattern of only noticing a dirty lens after image quality has degraded enough to be genuinely annoying.
See why does my night vision look blurry for how a dirty lens specifically affects night performance, and how long do security cameras typically last for how ongoing maintenance affects a camera's overall lifespan.