
Affiliate Disclosure
Some links on this page are affiliate links. As an Amazon Associate, we earn from qualifying purchases — at no extra cost to you. We do not buy, install, or physically handle the cameras we cover; our rankings come from aggregated owner reviews, ratings and expert consensus. Commissions never change our verdicts. How we rank · full disclosure.
Short version: Ring setup uses Bluetooth to hand your WiFi password to the camera, then the camera connects to that network directly — most connection failures happen at the Bluetooth handoff or because the camera can’t see a 2.4GHz network, not because of a genuinely bad WiFi connection.
Ring Devices This Guide Applies To

The most-reviewed video doorbell in the US market with one of the deepest, highest-rated review bases we track. Like every Ring device, it needs a stable 2.4GHz WiFi connection at the mounting point to stay online.
Why You Should Get This
If you own this doorbell and are troubleshooting its WiFi connection, this is the most-documented Ring device.
Benefits
- Deepest review base of any doorbell on the market.
- Well-documented WiFi pairing process.
- No wiring required.
Pros and Cons
- Largest, most trustworthy review base.
- Extensive community troubleshooting resources.
- Simple app-guided setup.
- Needs a stable 2.4GHz WiFi signal at the door.
- Recorded clip history needs a subscription.
- 1080p rather than 2K.
Features
- Head-to-toe 1:1 view.
- Removable battery or hardwiring.
- Two-way talk.

The highest-rated Ring device tracked on this site with one of the highest ratings and deepest review bases we track. Wired power removes battery concerns, but it still needs a reliable WiFi signal reaching the mounting position.
Why You Should Get This
If you own a wired Ring floodlight camera and are troubleshooting its connection, this is the most review-validated model.
| Resolution | 1080p HD |
| Field of view | 140° horizontal |
| Power | Hardwired, existing outdoor fixture |
| Night vision | Color night vision |
| Audio | Two-way talk |
| Siren | 105dB built-in siren |
| Lighting | Motion-activated LED floodlights |
| Smart home | Works with Alexa |
Benefits
- Highest-rated Ring device tracked on this site.
- Never needs a battery recharge.
- Reliable wired power removes one variable.
Pros and Cons
- Massive, consistent review base.
- Reliable wired connection.
- Well-documented setup process.
- Needs an existing wired fixture or electrician.
- Still needs a WiFi signal at the mount point.
- Recorded clip history needs a subscription.
Features
- Motion-activated LED floodlights.
- 105dB built-in siren.
- Two-way talk.
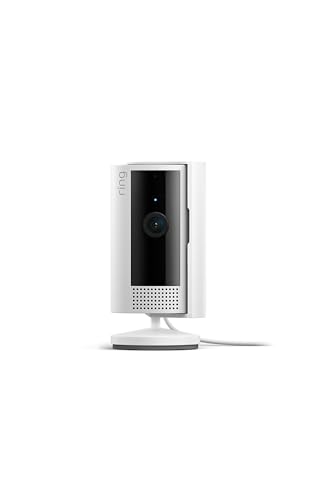
The most-reviewed inexpensive indoor camera tracked on this site with one of the deepest, highest-rated review bases in the category. Being indoors, it typically sits closer to the router, making WiFi pairing more reliable than an outdoor device.
Why You Should Get This
If you own this indoor camera and are troubleshooting its WiFi connection, this is the largest-reviewed indoor Ring device.
Benefits
- Most-reviewed inexpensive camera in the category.
- Typically closer to the router, more reliable pairing.
- Physical privacy cover.
Pros and Cons
- Massive, trustworthy review base.
- Low price for a first camera.
- Straightforward WiFi setup.
- Recorded clip history needs a subscription.
- 1080p rather than 2K.
- Indoor use only.
Features
- 1080p HD, two-way talk.
- Physical privacy cover.
- Plug-in power.
Before You Start
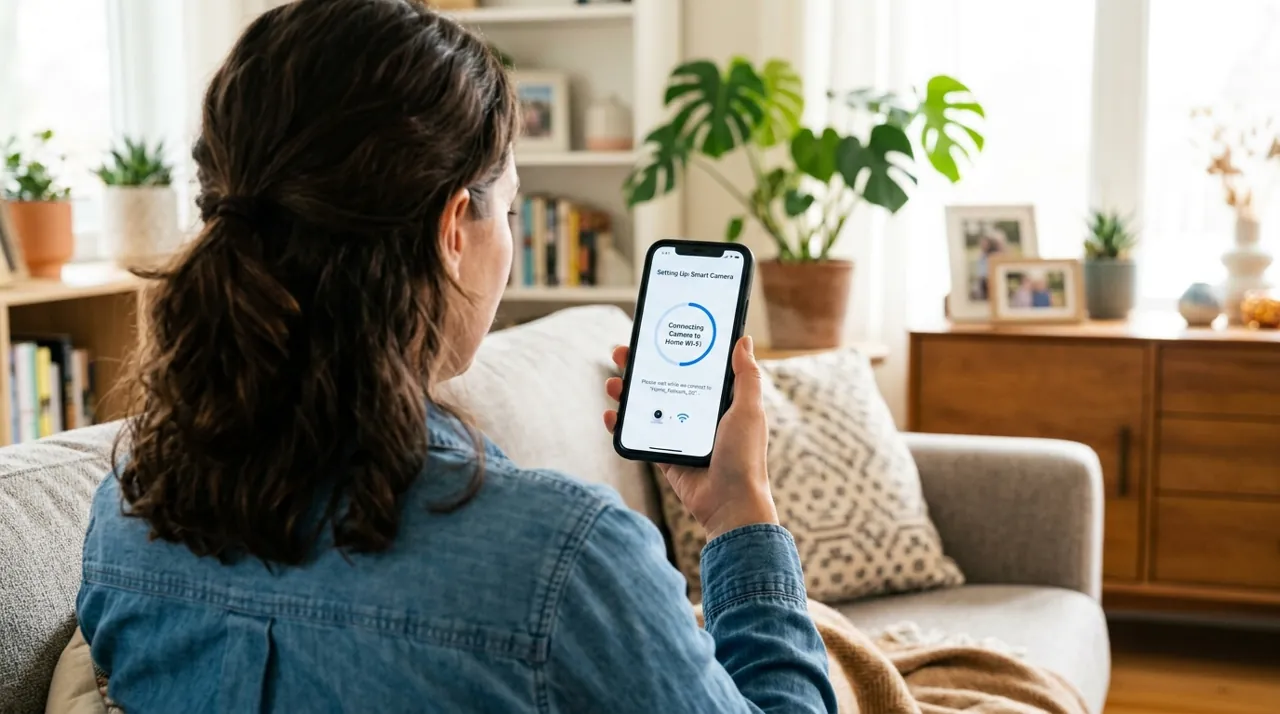
Confirm your phone is connected to the same WiFi network you intend to put the camera on, and that you know the exact password. If your router broadcasts separate 2.4GHz and 5GHz network names, note the 2.4GHz one specifically — most Ring devices need it. Fully charge a battery-powered unit first; low-battery devices sometimes drop out mid-pairing.
Connecting the Camera
Open the Ring app, tap Set Up a Device, select the camera type, and scan the QR code on the device or its packaging. The app will prompt a Bluetooth pairing step first — keep the phone within a few feet of the camera here. Once paired over Bluetooth, the app lists available WiFi networks; select yours and enter the password. The camera then reboots and connects directly to WiFi, which typically takes 30-90 seconds.
Fixing the Most Common Pairing Failures
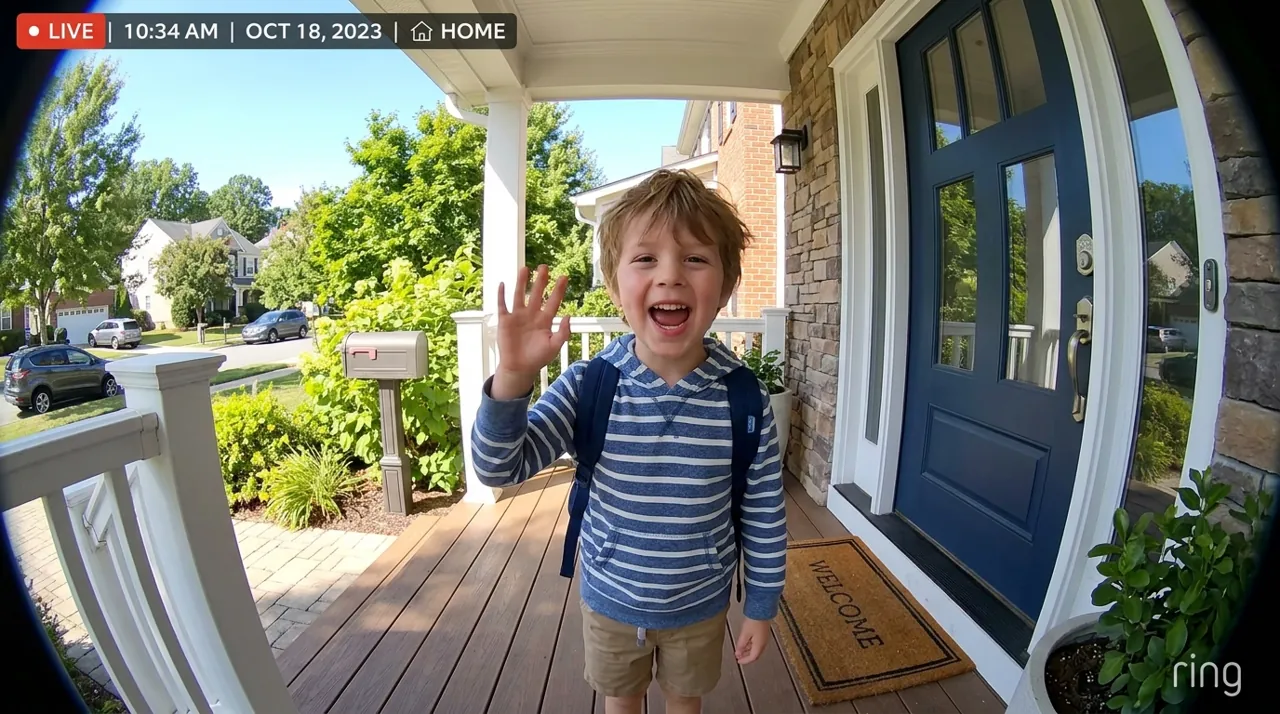
If the app can’t find your network during the WiFi selection step, that’s almost always a band mismatch — look for a separate 2.4GHz network name, or temporarily split a combined SSID into two in your router settings if it only broadcasts one. If the Bluetooth handoff itself fails, move closer to the camera, toggle Bluetooth off and on on your phone, and retry. If the WiFi connects but the camera immediately shows offline afterward, that’s usually a signal-strength issue at the mounting position rather than a setup problem — see why is my Ring camera offline.
Reconnecting After a Router or Password Change
If you’ve changed routers or updated your WiFi password, existing Ring cameras won’t automatically pick up the new credentials — go into the Ring app’s device settings and select Change WiFi Network rather than doing a full reset, which is unnecessary for this specific case. A factory reset is only needed if the change-network option itself fails; see how to reset a Ring camera.
Accessories Worth Having on Hand
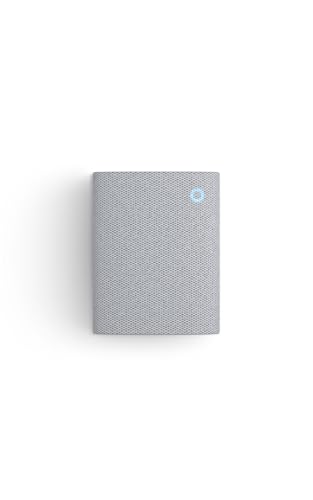
Best for re-pairing an indoor chime after reconnecting a Ring doorbell to WiFi.

Best for repositioning a camera closer to the router for a stronger signal.

Best for local backup storage on Ring devices that support a card.
Related Guides
For the full install process beyond just WiFi pairing, see how to install a Ring camera. And if Ring’s subscription model factors into your decision, is Ring worth it covers the cost breakdown.