
Affiliate Disclosure
Some links on this page are affiliate links. As an Amazon Associate, we earn from qualifying purchases — at no extra cost to you. We do not buy, install, or physically handle the cameras we cover; our rankings come from aggregated owner reviews, ratings and expert consensus. Commissions never change our verdicts. How we rank · full disclosure.
Short version: connecting a camera to WiFi is normally a five-minute process — open the app, scan a QR code or enter a setup code on the camera, select your network, and enter the password. Almost every connection failure traces back to one of three things: a 5GHz-only network the camera can’t see, a signal too weak at the mounting spot, or a router that separates its 2.4GHz and 5GHz bands under different names in a way the app can’t parse.
Cameras This Guide Applies To

The most-reviewed video doorbell in the US market with one of the deepest, highest-rated review bases we track. It pairs to a 2.4GHz WiFi network through a well-documented app-guided setup process.
Why You Should Get This
If you own this doorbell and are setting it up on WiFi for the first time, this is the most-documented pairing process in the category.
Benefits
- Deepest review base of any doorbell on the market.
- App-guided WiFi pairing.
- No wiring required.
Pros and Cons
- Largest, most trustworthy review base.
- Extensive setup documentation.
- Simple app-guided process.
- Needs a stable 2.4GHz WiFi signal at the door.
- Recorded clip history needs a subscription.
- 1080p rather than 2K.
Features
- Head-to-toe 1:1 view.
- Removable battery or hardwiring.
- Two-way talk.

Blink’s flagship outdoor camera, with a solid owner rating, connecting through the Blink app and Sync Module rather than joining WiFi directly on some setups. It runs on two AA lithium cells rated for up to two years.
Why You Should Get This
If you own this camera and are connecting it to WiFi, note it pairs through the Sync Module rather than directly in some configurations.
| Resolution | 1080p HD (1920x1080) |
| Field of view | 143° |
| Power | 2x AA lithium batteries, up to 2-year life |
| Night vision | Infrared |
| Audio | Two-way audio |
| Install | Wireless, wall-mount bracket |
Benefits
- Well-documented Sync Module pairing process.
- Two-year rated battery life.
- Weather-resistant mounting.
Pros and Cons
- Extensive community troubleshooting resources.
- Free local storage via Sync Module.
- Amazon ecosystem integration.
- Pairing involves the Sync Module, an extra step.
- 1080p resolution.
- Lower star rating than premium alternatives.
Features
- Two-year rated battery life.
- 1080p HD video.
- Weather-resistant mounting.

Wyze’s current flagship camera, at an entry-level price and a solid owner rating, connecting directly to 2.4GHz WiFi through the Wyze app with no separate hub required.
Why You Should Get This
If you own this camera and are connecting it to WiFi, it pairs directly with no hub or Sync Module needed.
Benefits
- Direct WiFi pairing, no separate hub.
- 2.5K resolution with color night vision.
- Local microSD recording.
Pros and Cons
- Simplest pairing process of the three brands here.
- No subscription required for core recording.
- Indoor/outdoor rated.
- Needs a stable 2.4GHz WiFi signal.
- MicroSD card sold separately.
- Cam Plus needed for smart detection.
Features
- 2.5K, color night vision.
- Local microSD recording.
- Indoor/outdoor rated.
The Standard Setup Process
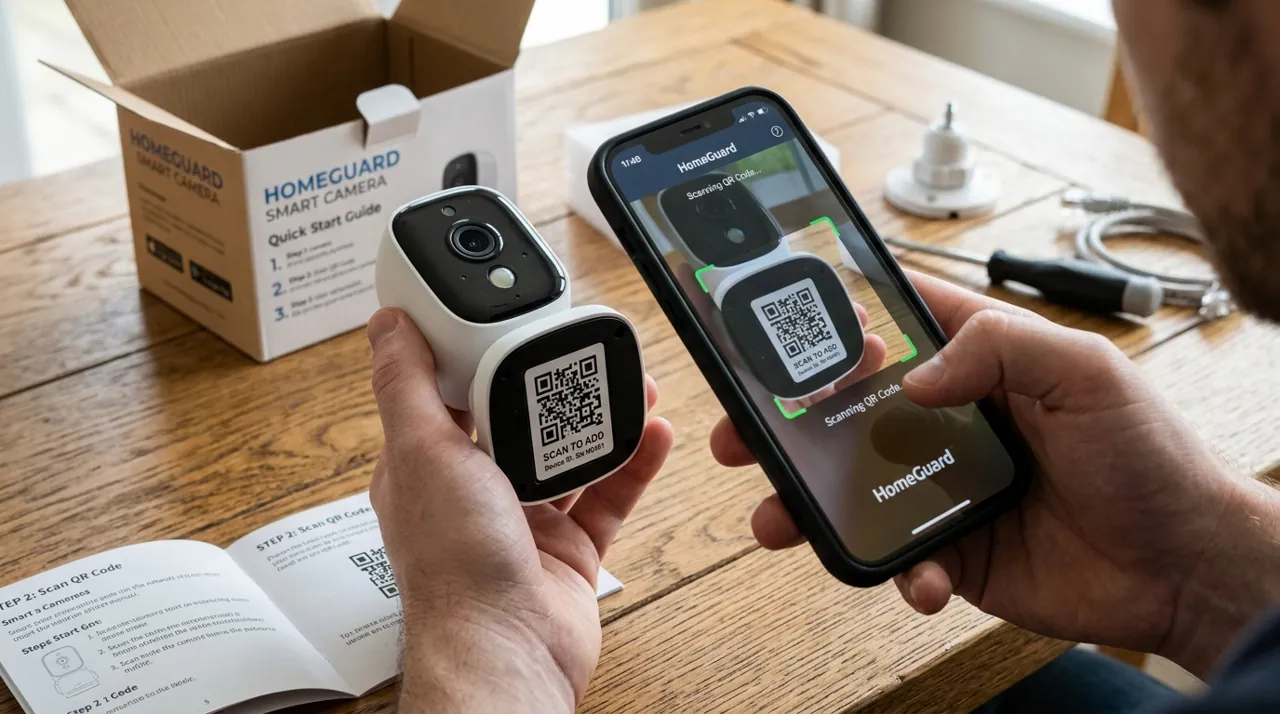
Download the camera manufacturer’s app and create an account if you haven’t already. Power on the camera and open the "add device" flow in the app — most cameras pair via a QR code displayed on your phone screen that you hold up to the camera’s lens, or a Bluetooth handshake that happens automatically when the phone is nearby. Select your home WiFi network from the list the app shows, enter the password, and wait for the camera to confirm a connection — this typically takes 30 seconds to two minutes. A solid-colored or specific-pattern status light usually confirms success; check your camera’s manual for what that pattern means on your model.
Why 2.4GHz Matters More Than 5GHz Here
Most consumer security cameras are built to connect on the 2.4GHz band only, not 5GHz. This isn’t a downgrade — 2.4GHz travels further and penetrates walls better than 5GHz, which is exactly the tradeoff a camera at the back fence needs. The problem shows up when a router broadcasts both bands under the exact same network name (common on newer mesh routers, which do this by design to auto-select the best band for each device). The camera’s setup app often can’t tell the two apart in that configuration and fails to connect, or connects to the wrong one and drops immediately.
The fix: temporarily split the bands into two differently-named networks (most router admin panels have this as a toggle, often called something like "smart connect" that you switch off), connect the camera to the 2.4GHz-only network specifically, then re-enable band merging afterward if you prefer — the camera stays connected to whichever band it initially joined.
Checking Signal Strength Before You Mount Anything
A camera that pairs successfully on a workbench near the router can still fail once mounted at the actual position, because walls, distance and materials all degrade WiFi differently than open air. Before finalizing the mount, stand at the exact spot holding a phone and check the WiFi signal there — a connection that feels fine for browsing can be marginal for a camera’s continuous video upload. Our install guide covers signal-strength testing and the fixes for weak spots (mesh nodes, outdoor access points, or switching to a wired PoE camera) in full.
Common Connection Failures and Fixes
- "Network not found" during setup. The camera is 2.4GHz-only and can’t see a 5GHz-only or merged-band network — split the bands as described above.
- Connects, then drops immediately. Usually a weak signal at the mounting spot, not a pairing failure — test signal strength there directly.
- Wrong password error on a password you’re sure is correct. Check for special characters causing a QR-scan misread, and try entering it manually instead.
- Camera pairs but never appears in the app. Force-close and reopen the app, confirm you’re logged into the correct account, and retry — this is usually an app-side sync delay rather than a network problem.
- Setup works, but the camera goes offline days or weeks later. That’s a different, ongoing problem rather than a setup failure — see why does my camera keep going offline.
What Happens When Your Router Changes
Getting a new router, changing your WiFi password, or a provider-forced router reset will drop every camera on your network, since they authenticate against the old credentials. Most cameras need to go through the WiFi pairing step again from the app — a soft reset first (see how to reset a security camera) sometimes lets a camera rejoin an updated network without a full factory reset, worth trying before starting setup completely from scratch.
Accessories Worth Having on Hand

Best for positioning a camera within reliable WiFi range before final mounting.

Best for local recording as a backup if a WiFi connection drops intermittently.
If You’re Still Stuck
If the camera pairs successfully but shows as offline again shortly after, that’s a different, ongoing issue — go to why does my camera keep going offline. And if you’re setting up in a position with genuinely poor WiFi coverage rather than a pairing glitch, our no-WiFi and cellular cameras hub covers cameras built to skip home WiFi entirely.