
Affiliate Disclosure: Some links on this page are affiliate links. As an Amazon Associate, we earn from qualifying purchases — at no extra cost to you. We do not buy, install, or physically handle the cameras we cover; our rankings come from aggregated owner reviews, ratings and expert consensus. Commissions never change our verdicts. We're reader-supported: commissions fund hosting, research and updates, so if a guide helped, buying through our links keeps it going. How we rank · full disclosure.
Short version: a solar panel does not power a battery camera directly — it trickle-charges the battery already inside it, so the panel just needs to put back more charge across a sunny day than the camera used. For most cameras with a standard Micro-USB or USB-C port, the generic 5W panel is the safest starting point, with over 1,500 verified owner ratings behind it at an entry-level price. Arlo owners should buy the certified Arlo panel to avoid any connector mismatch. For a high-traffic position that triggers constantly, step up to a 9W panel for more daily charge.
This page covers the best solar panels for security cameras, meaning standalone panel accessories for cameras that did not ship with solar built in. If you are choosing between cameras and want one with an integrated panel from the start, see the top-rated solar security camera roundup, or the wider solar cameras hub for sun-hour requirements and winter performance.
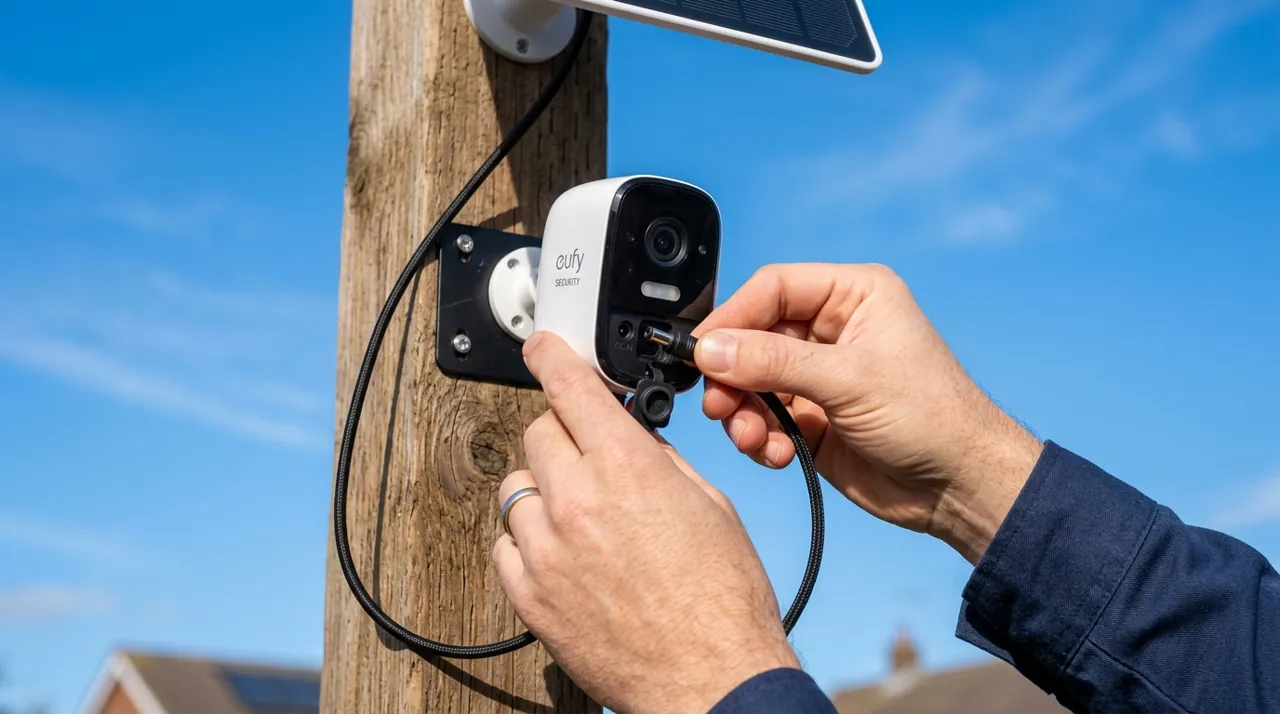
In Plain English
A solar panel doesn’t run your camera directly. The camera still runs on its own battery. The panel just tops that battery up during the day.
Think of the battery as a bucket with a small leak. Every time the camera wakes up to record, a little water drains out. The solar panel is a hose trickling water back in. If the hose puts in more than leaks out over a day, the bucket stays full. If the panel sits in shade, the hose barely runs and the bucket slowly empties, however big the panel is.
That is why the spot matters more than the wattage (the panel’s rated power output). A small panel in full sun often beats a bigger one in partial shade.
The one thing to do: before mounting, check the spot at a few times of day to confirm it gets several hours of direct sun, then confirm the panel’s plug matches your camera.
Top Rated Picks at a Glance
The Ranked Field: Star Rating, Consensus and Price

Best for battery cameras that use a standard Micro-USB or USB-C charging port.
- 9.8ft cable so the panel can chase the sun while the camera stays put.
- Adjustable wall mount for angling toward the midday sun.
- IP65 weatherproof housing rated for permanent outdoor mounting.
- Works with any battery camera using Micro-USB or USB-C input.
Why buy it: By far the deepest review base of any panel in this category — over 1,500 verified ratings — at a price low enough to put one on every camera that needs it.

Best for Arlo Essential, Go 2, Pro 3/4/5/6 and Ultra series cameras (check Arlo’s list for your exact model).
- Certified Arlo accessory with a guaranteed connector fit.
- Weather-resistant housing built for the Arlo camera form factor.
- No compatibility guesswork across the current Arlo lineup.
- Standard Arlo mounting hardware included.
Why buy it: The safe, no-guesswork buy for Arlo owners — a certified accessory removes the connector-mismatch risk that generic panels carry.

Best for high-traffic positions that trigger frequently and need more daily charge.
- 9W output — roughly double a standard 5W panel.
- IP65 waterproof, rated -4°F to 176°F.
- 10ft USB-C cable with a Micro-USB adapter included.
- Two panels per pack, enough for two cameras or one high-drain position with a spare.
Why buy it: More wattage genuinely helps at a busy driveway or a well-trafficked front door, where a standard panel struggles to keep pace with event volume.
Comparison Table
| Product | Best for | Buy |
|---|---|---|
| Generic 5W Solar Panel (2-Pack) with USB-C/Micro-USB Cable | Best Overall | Price |
| Arlo Solar Panel Charger | Best First-Party (Arlo) | Price |
| Generic 9W Solar Panel (2-Pack) | Best Higher-Wattage | Price |
How We Rank
We do not buy or physically install these panels. Every star rating and review count on this page comes from licensed Amazon data, weighted by review volume so a small, newly listed panel does not automatically outrank one with over a thousand verified owner ratings. Full method on how we rank.
Buying Guide: Wattage, Compatibility and Placement
Check the USB-C or Micro-USB Connector First
Before wattage or price, confirm the panel’s output connector matches your camera’s charging port. Micro-USB and USB-C are the two most common ports across battery cameras, and a panel that lists both (via an included adapter) covers the widest range of cameras. Brand-specific certified accessories, like the Arlo panel here, exist specifically because some manufacturers use a proprietary connector a generic panel cannot satisfy.
Wattage: 5W vs 9W
5W is the standard rating across most panels sold for security cameras and is sufficient for typical residential positions. 9W and higher panels genuinely help at high-traffic spots — more motion events mean more power draw, and a bigger panel raises the daily charge ceiling to match. Wattage cannot rescue a shaded mounting spot; see the sun-hour guidance in the solar cameras hub before assuming a bigger panel fixes a placement problem.
Cable Length and Mounting Angle
A longer cable (the panels here run 9.8-10 feet) matters more than it looks, because it lets the camera stay in its ideal coverage position while the panel goes wherever the sun actually is — often a few feet away on a different wall or fence post. An adjustable mount that lets the panel tilt toward the midday sun is a real, free output gain over a panel mounted flush against a vertical wall — Ring’s own guidance is to face the panel south in the Northern Hemisphere at roughly a 45-degree angle.
Sun Hours: The Spec That Actually Matters Most
Wattage gets most of the attention on a solar panel listing, but sun exposure at the actual mounting spot decides more of the real-world outcome than the panel's rated output does. A 5W panel in full, unobstructed sun for most of the day commonly outperforms a 9W panel stuck in partial shade under an eave or tree canopy. Before buying based on wattage alone, walk the actual mounting position at different times of day — many owners report picking a spot for camera coverage first and only afterward discovering it gets a fraction of the sun a few feet to either side would provide. When a panel and camera combination isn't holding charge, checking real sun exposure at the mount is a more useful first step than assuming the hardware is faulty.
Seasonal and Winter Performance
Every solar panel in this category produces less charge in winter than summer, for reasons that have nothing to do with the panel's build quality: shorter days mean fewer total sun hours, a lower winter sun angle reduces output from a flat-mounted panel, and in snowy climates a panel dusted or covered in snow stops charging until it's cleared. Owners in colder regions commonly plan around this rather than being caught out by it — sizing up to a 9W panel specifically to build in a winter buffer, or accepting that a battery camera in a shaded winter position will need more frequent manual recharging for a few months each year. None of this is unique to any one brand; it's the physics of solar charging at higher latitudes and shorter days.
When a Panel Stops Charging the Camera (Shade, IP65 and Connector Checks)
The most commonly reported cause of a solar panel that "stopped working" is a connector that's come loose or corroded slightly at the camera end, not a failed panel — checking that the USB-C or Micro-USB plug is fully seated is the first thing to try before assuming a return is needed. The second most common cause is shade that's crept in since the panel was first installed, often from a tree that's grown taller over a season or two. Genuine panel failure does happen but is comparatively rare given the simple, largely solid-state construction of these units, and it's usually covered by the standard manufacturer warranty during the return window.
Basic Panel Maintenance
A solar panel for a security camera needs very little upkeep, but the small amount it does need is easy to skip since the panel usually sits above eye level. Wiping the glass or plastic face clear of dust, pollen and cobwebs every few months keeps output close to rated capacity — a genuinely dirty panel face can measurably cut the charge reaching the camera, especially through pollen season in spring. Checking the cable for cracking or sun damage once a year is worth the two minutes it takes, since a degraded cable is a more likely failure point over several years of outdoor exposure than the panel cell itself. None of this requires tools beyond a cloth and, occasionally, a ladder.
Going Deeper: Why Sun Angle and Shade Matter More Than Watts
A panel’s wattage is a rating under strong, direct light, and the light at your mounting spot changes through the day and the year. The U.S. Department of Energy explains that in the early morning and late afternoon the sun sits low, so its rays travel further through the atmosphere than at noon. It also says mid-latitude countries like the United States get more solar energy in summer, partly because the sun is almost directly overhead. That is the physics behind this page’s winter advice. Shorter days and a lower sun both cut the charge reaching a panel.
Weather matters even more. The DOE notes that atmospheric conditions can reduce direct-beam sunlight by 10% on clear, dry days and by 100% on thick, cloudy days. What remains on overcast days is diffuse light, sunlight that has been scattered by the atmosphere. That is why a run of grey days can drain a camera even with a panel attached.
Shade does more damage than its size suggests. PVEducation, the open photovoltaics textbook by Christiana Honsberg and Stuart Bowden, explains that because the cells in a module are wired in series, shading one cell drops the current through the whole string to the level of the shaded cell. Completely shading one cell can cause the module’s output power to fall to zero. Bypass diodes can isolate a shaded cell to limit that loss, but the shaded section still isn’t producing. A branch shadow across one corner can cost far more charge than it looks like it should.
Taken together, this is why the advice above focuses on placement first. Walk the spot at different times of day, angle the panel toward the midday sun rather than flat against a wall, and use the long cable to move the panel into open sky while the camera stays where it gives the best view.
The Verdict
For most readers with a standard-port battery camera, the generic 5W panel is the right first buy — the review base behind it is unmatched in this category and the price makes it easy to add one to every camera position that needs it. Arlo owners should stick with the certified Arlo panel rather than risk a connector mismatch. And if a specific position is triggering constantly and still running low, the 9W panel is the honest upgrade before assuming the camera itself is the problem.
Sources & References
- Installing a solar panel with your security camera — Ring
- Solar Radiation Basics — U.S. Department of Energy
- Shading — PVEducation (Honsberg & Bowden)
- Arlo Solar Panel Compatibility — Arlo
- Solar Panel Charger for Cameras — Arlo